Food Photography Tips for Instagrammers

Last week I had the opportunity to speak at the Yelp Chicago x Chicagogrammers Drink and Learn event. As a full-time freelance restaurant photographer here in Chicago, I shared some of my food photography tips. Since the crowd was comprised of Instagrammers and Yelp Elite-ers, I tailored the talk to capturing food pics for social media when dining at restaurants or at networking events. I promised to compile my presentation into a blog post, so here it is as promised!

Caroline Taft
1. Research: Plan The Shot(s) You're Taking Before You Walk In
To minimize the time spent (and frustration caused) trying to capture the "perfect" food shot at a restaurant, plan the photos you want to create ahead of time. Before you walk in the door, visit a restaurant or venue's website and/or check out tagged photos from the location on Instagram (search the restaurant's name and select it from the "Places" tab). Look for interesting focal points or design elements at the establishment (i.e. mural wall, attractive bar area, patio or scenic view) that you might want to feature in your image and scan the menu for dishes you will enjoy and want to photograph, then move onto Tips #2 and 3 to prepare for the shot.
BONUS TIP: Maintain an "Inspiration" photo album on your phone containing screen shots of other food photos with various compositions and styles to help kick start your creativity when you plan for future restaurant photos.
2. Use Lighting To Your Advantage
Natural light is your best friend when capturing shots of your meal or of a restaurant, but is not always available for locations with dark interiors, poor weather or after the sun sets. If you've done your research from Tip #1 and know there is a seating area you'd like to capture or a seat by the window where the natural lighting is best, don't be afraid to request a specific table. For dimly lit conditions, consider carrying a pocket LED light or a mini light reflector like the ones on Amazon shown below if you don't mind being "that person" ;)
BONUS TIP: If purchasing and carrying a pocket light to brighten a dark shot doesn't sound like your cup of tea, have a friend turn on their cell phone flashlight and diffuse the light through a napkin to light your photo.


3. Pre-Determine Your Shot Angle
In a continued effort to photograph your meal in a minimally distracting and time conservative manner so you can get to the truly fun part - eating it, understand the appropriate shot angle for the dish(es) you’ll be photographing and plan for them in advance. Here are some quick guidelines for common shot angles used for photographing food:
90° Angle: eye-level shot appropriate for dishes with height or layers such as burgers, sandwiches and layered desserts.
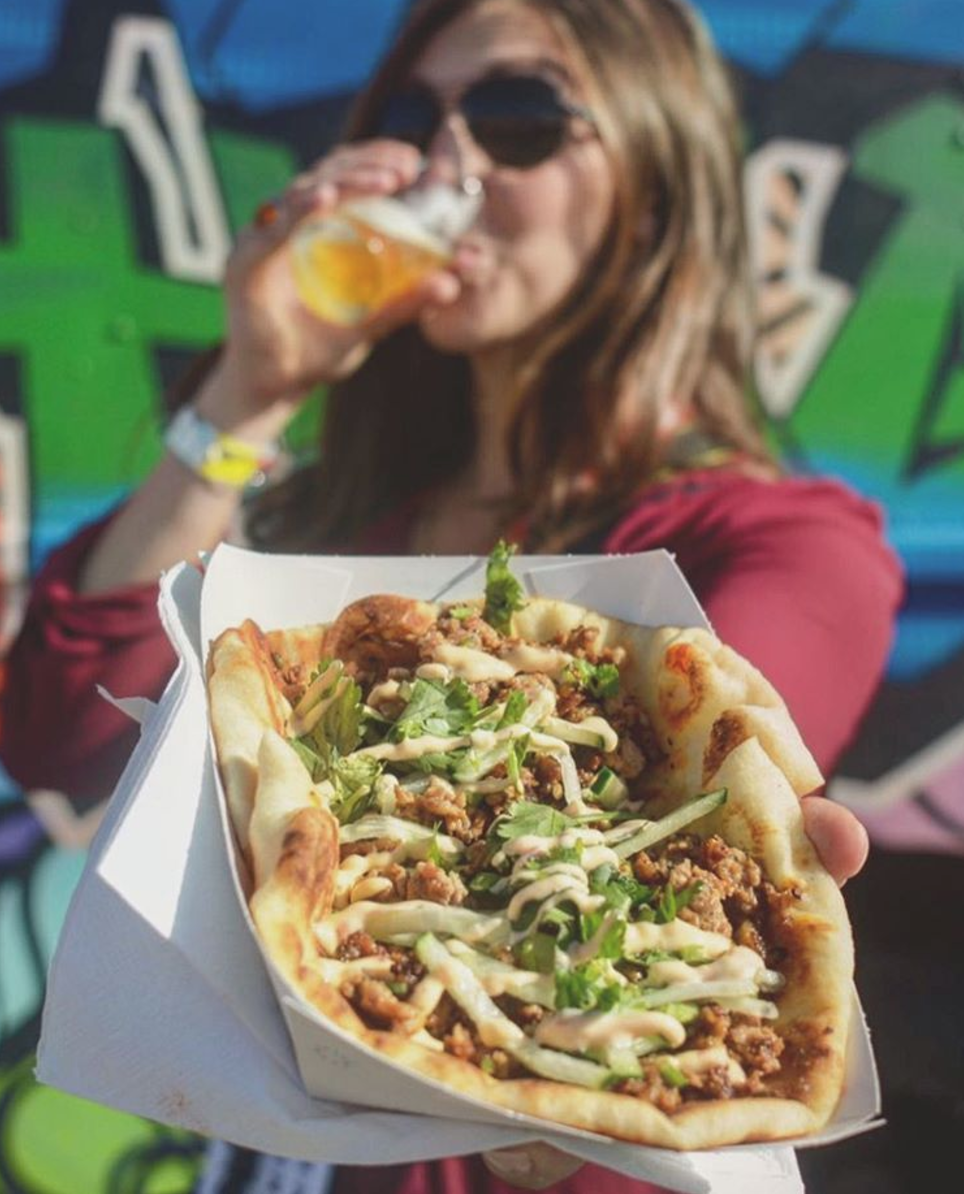
45° Angle: useful for shooting into bowls and high walled plating vessels (see example photo below) or capturing a dish or meal set against an eye-catching background.
Overhead Angle: works well for crowded table shots with a spread of dishes and for individual dishes with visually appealing plating (see example photo below).
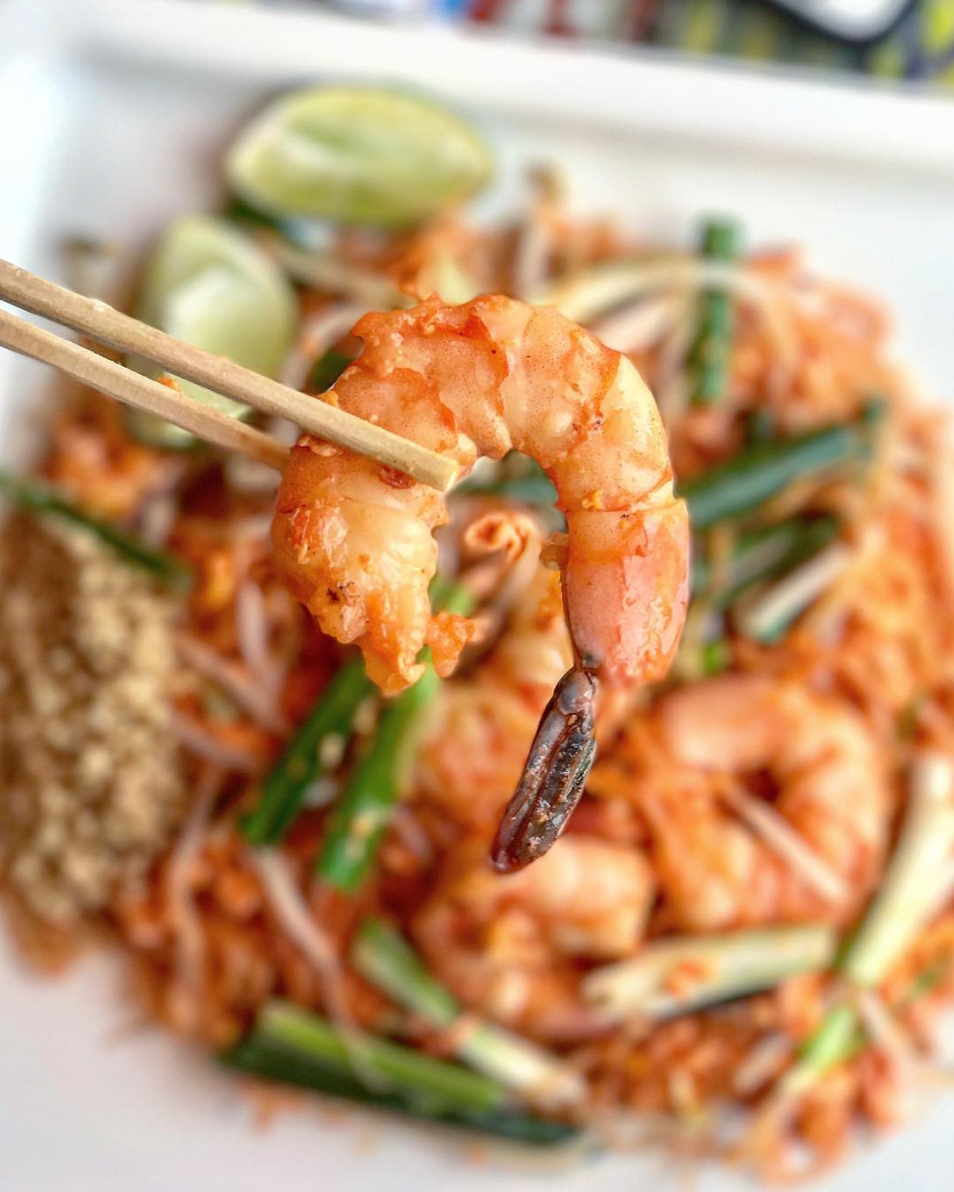
Hands/Feet/Holding: adds visual interest to a hand held dish or object, particularly when shot against an attractive floor or background/wall.

90° Angle

45° Angle
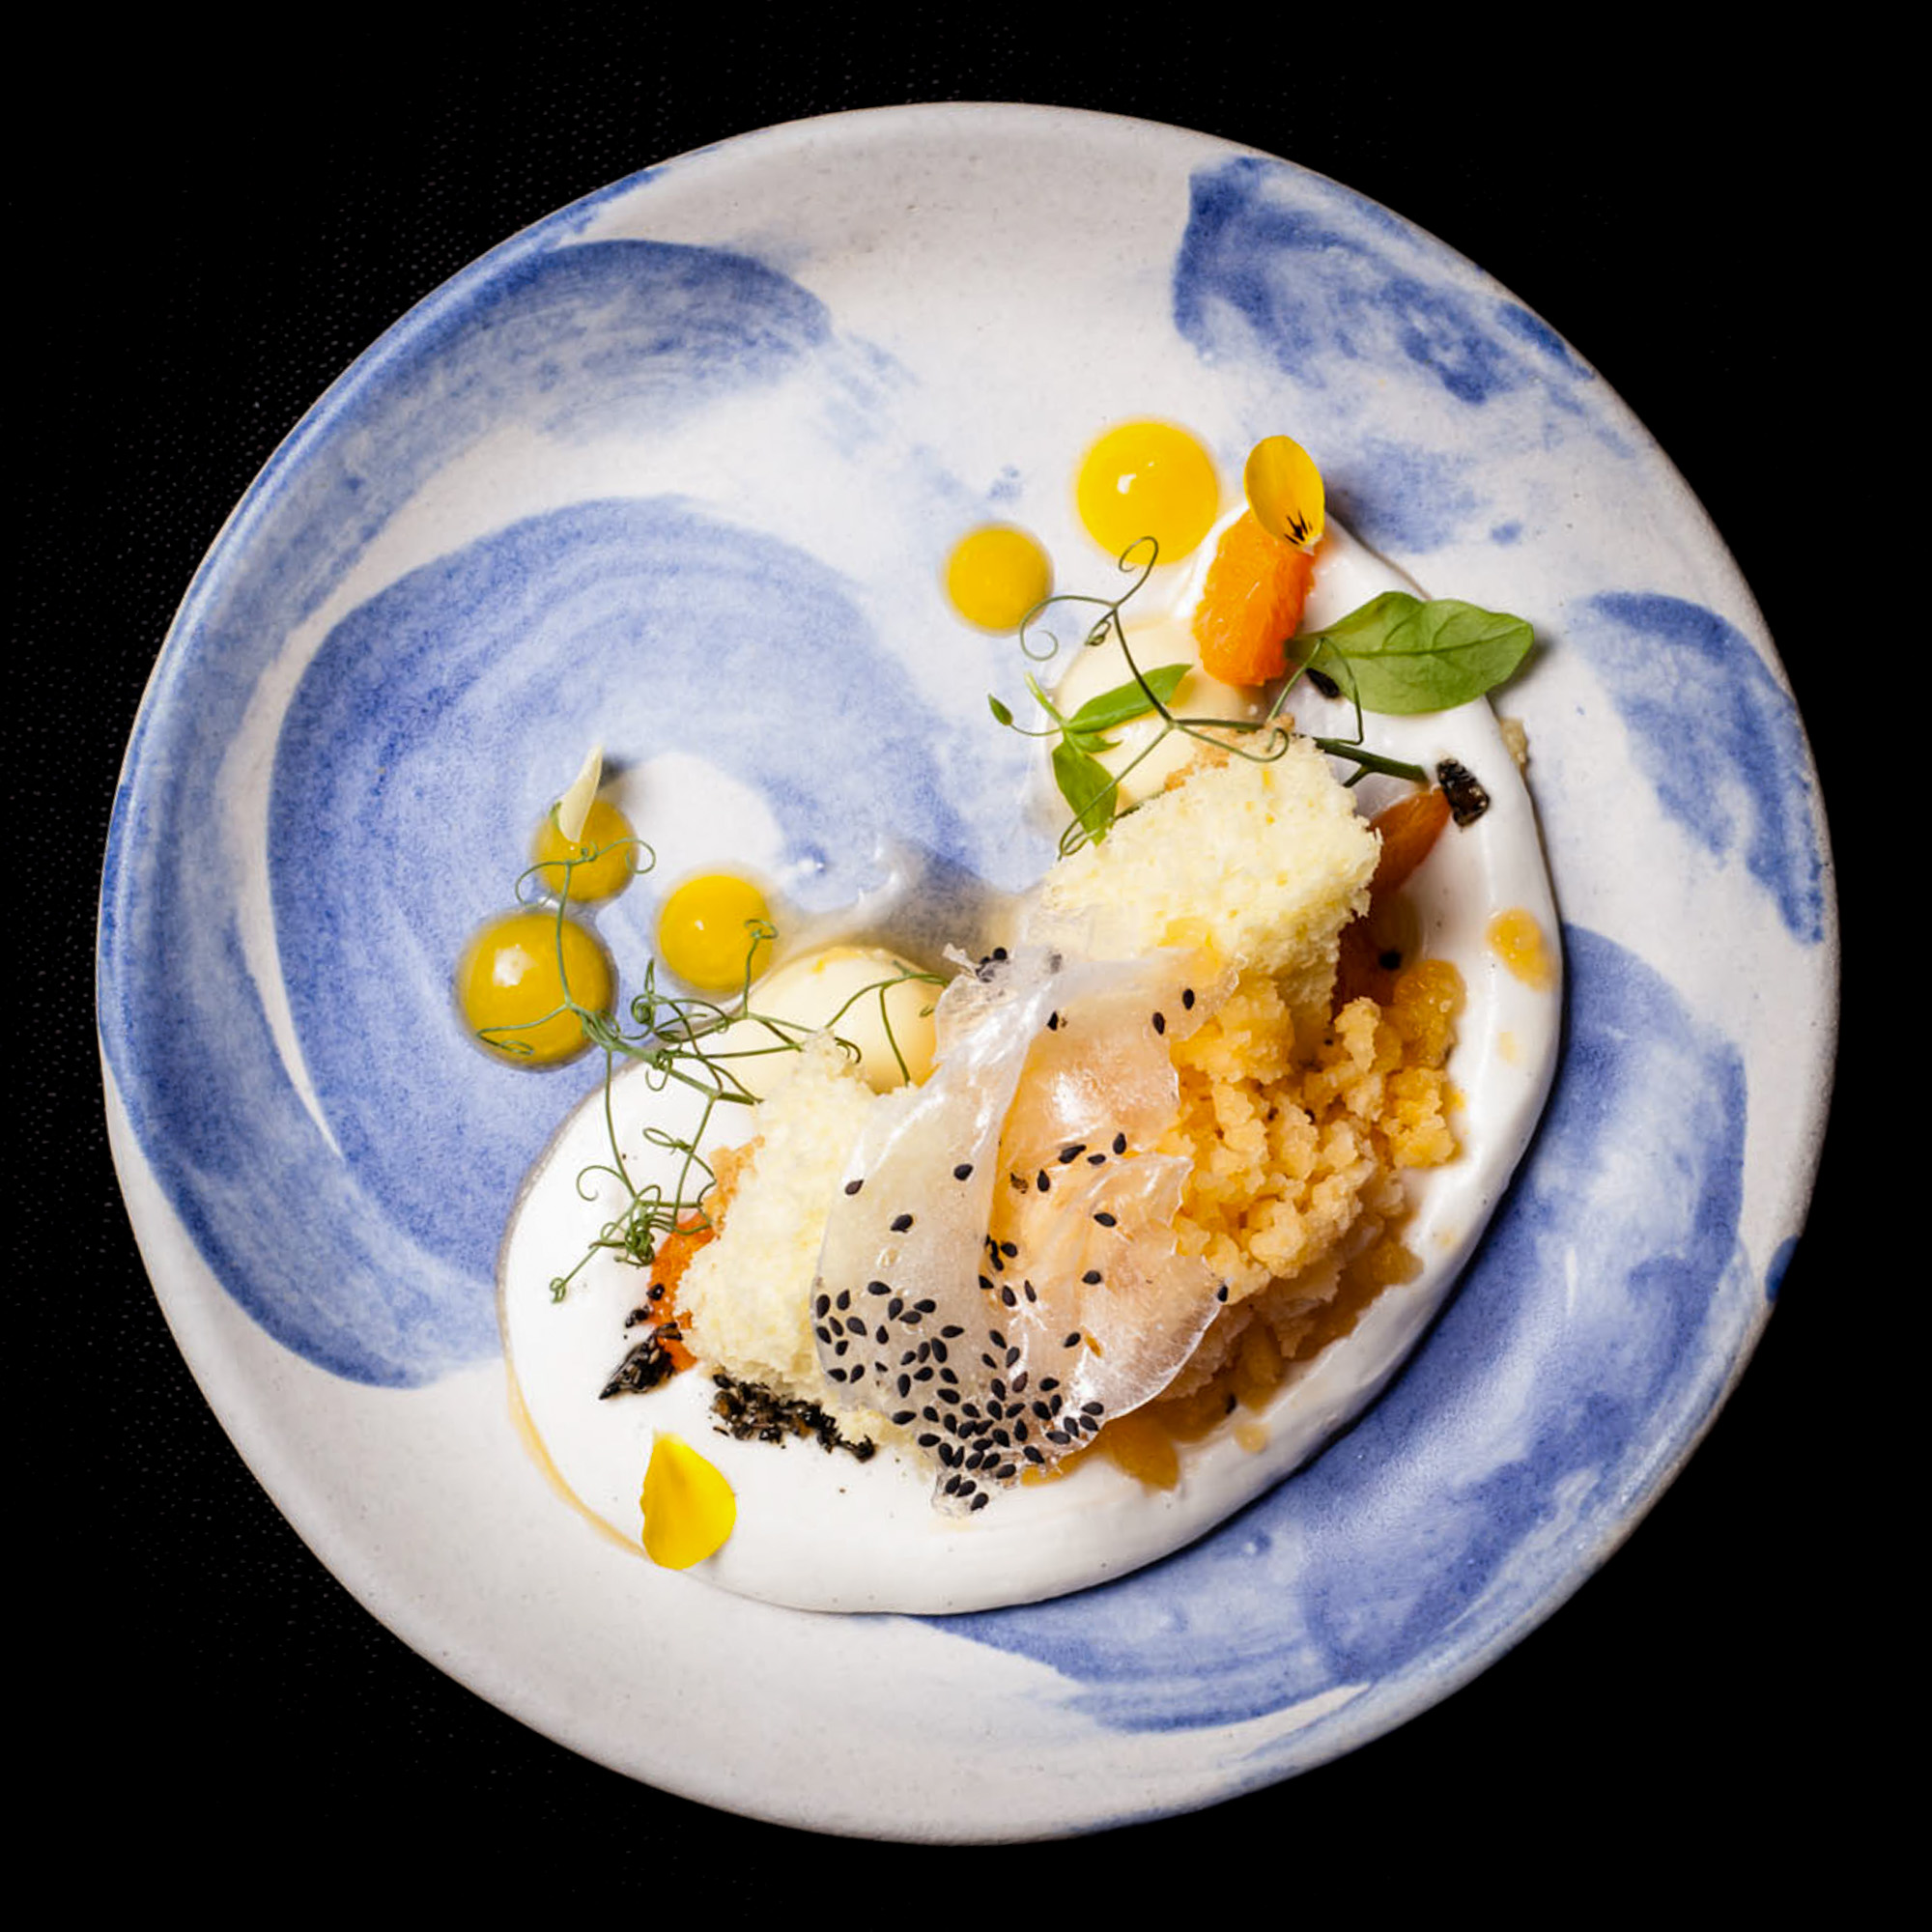
Overhead Angle

"Feet" Shot
"Holding" Shot
"Hands" Shot
4. Set Boundaries: Abide By the 5-10 Minute Rule
Those of us who photograph our meals before diving into them often have a bad habit of spending so much time obsessing over the “perfect shot” that we waste away the meal distracted by our cameras or or cell phones. After catching myself repeatedly doing just that, I established the 5-10 Minute Rule: capture a "postable" shot within 5-10 minutes of the start of your meal or social engagement and then RELAX, put your phone or camera away and engage with your fellow diners. Edit and share the photo when the meal has ended and you have the time and space to focus on it. There is nothing more frustrating that dining with someone who can't pull their attention away from their mobile device - I implore you not to be that person!
5-10 Minute Rule: Use tips #1-3 to capture a "postable" image within 5-10 minutes of starting your meal, then put your devices down, engage with your fellow diners, and ENJOY yourself (and your meal)!
5. Upgrade From Your Phone To A Camera
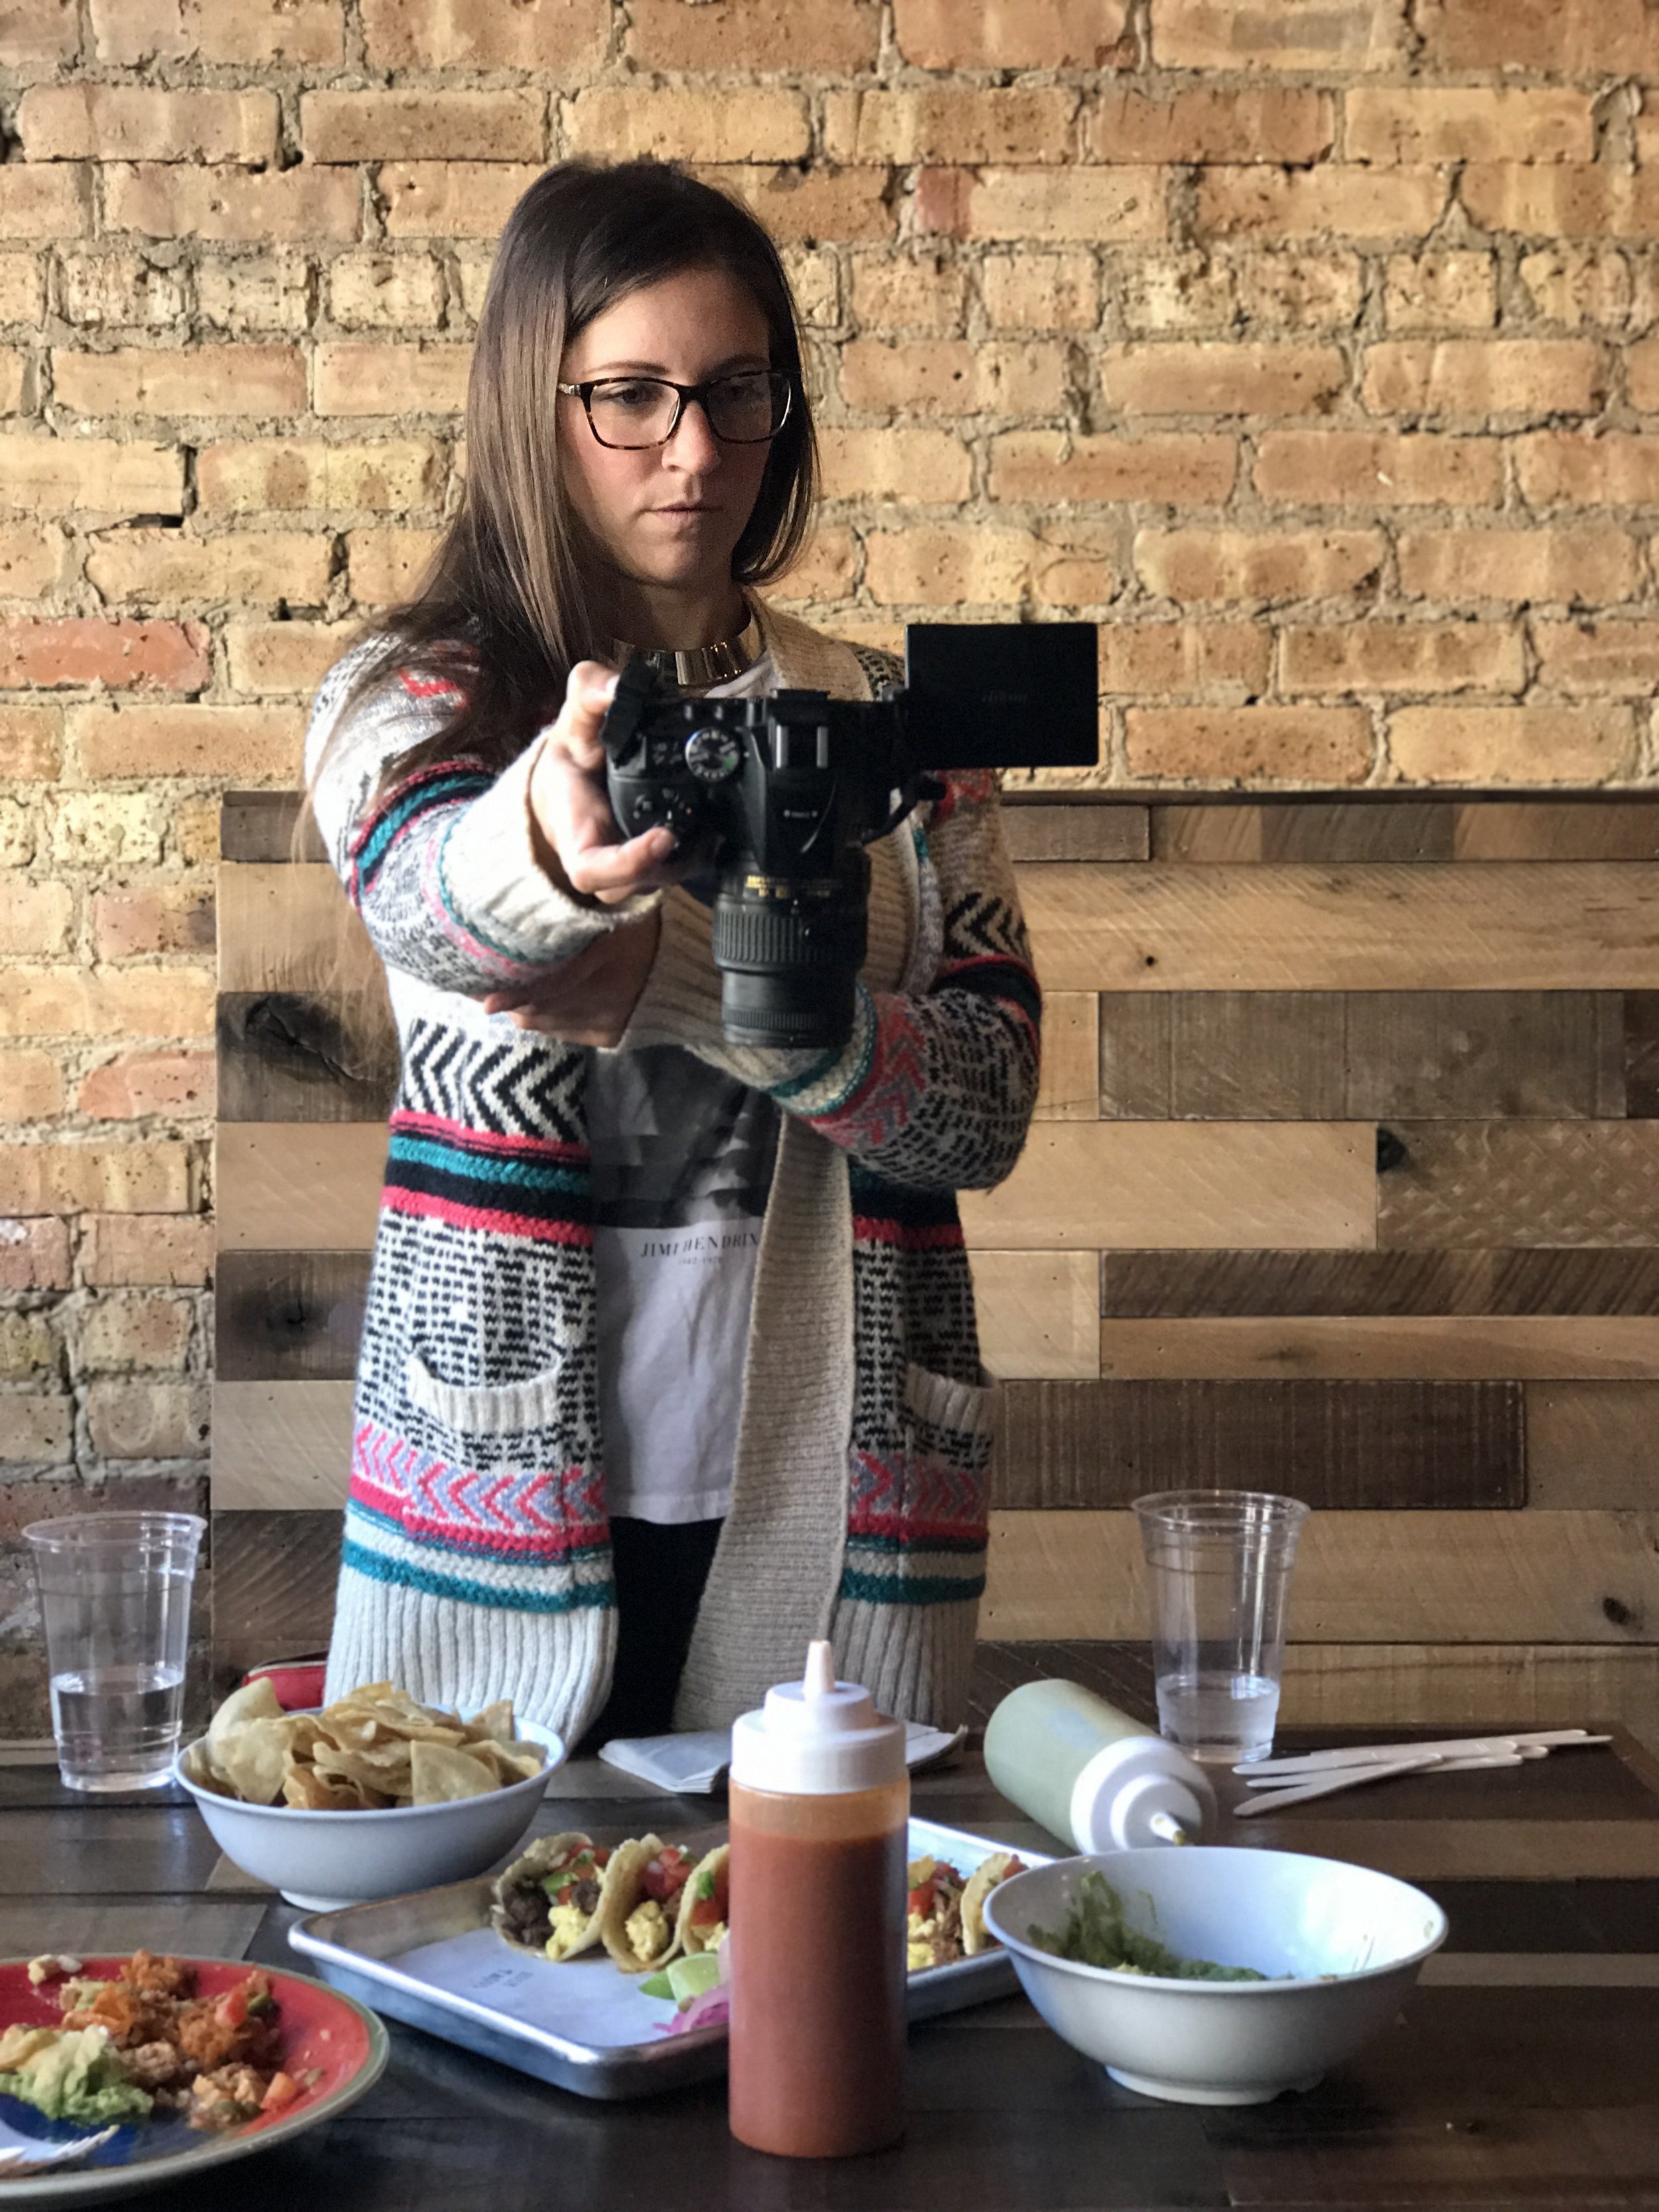
Flip screens make overheads easy
Cell phone cameras have certainly come a long way (two thumbs up for the iPhone 7’s new portrait mode). However, upgrading to a digital camera, whether a point-and-shoot, mirrorless or a DSLR, gives you significantly more flexibility and capability to produce quality photos.
When using a camera for food photography on the go, consider one with built-in wi-fi capability so you can quickly download photos right to your smart phone for posting. For easy overhead shots without having to climb on top of a chair, consider a camera with a rotating flip screen that allows you to preview your shots as you take them (see photo on the right).
Bonus Tip: If you already own a DSLR but want to add wi-fi capability, purchase a wi-fi adapter like this Nikon one on Amazon.
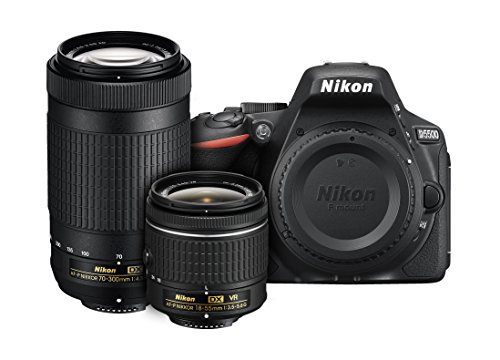
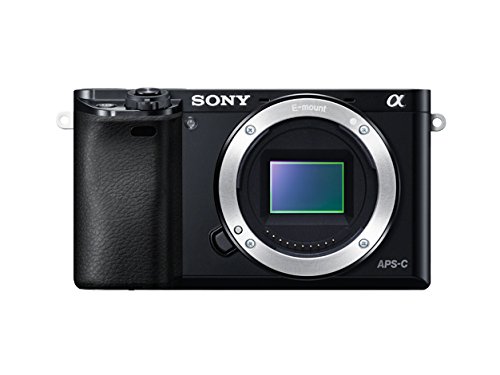
Here are three quality, reliable cameras to consider at various price points and sizes and with a range of different attributes and capabilities:

6. Invest In Prime Lenses
Just about any digital camera on the market will aid in your ability to capture a quality image. What really separates your gear from the pack is your choice of lenses. Zoom lenses (the ones that typically come with your camera body) offer flexibility but make compromises in sharpness and focal qualities. Prime lenses (ones that do not zoom) help create a desirable depth of focus, allowing you to capture an image with a sharp focal point and an out-of-focus background. Here are a few of my favorites:
50mm: This lens is my go-to for tight shots, details, and crisp, up-close food photos. I go with the 50mm lens when I know I'll be shooting plated dishes but won't be concerned about wider scenic shots. At just over $200, the 50mm lens will be the single greatest investment you can make to help up your photography game, trust me.
35mm: Once you are ready to move beyond the 50mm, either longer or wider, I recommend a 35mm lens. This is my favorite multi-purpose lens. It can be used for detailed, sharp focus shots like the 50mm but also able to capture a wider scene enabling me to seamlessly move between up-close and context shots.
24mm: When you are looking to make images that capture a sense of place and provide context for your images (i.e. the interior of a restaurant, view from a rooftop, full table shot) you can look no further than the 24mm lens. This is a great addition to your collection after you've toyed with the 50mm and 35mm!
Bonus tip: check out this GIF to help clear up some of the mystery of the effect focal length has on your images. Notice the difference in context and story as you move between lenses.

Here are my three favorite lenses for the Nikon DSLR I typically shoot with:


7. Use Photo Editing Software
I hate to break it to you, but there is no magic formula for editing photos. Like all good creative processes there are fundamentals that will outlast fads. Knowing how to troubleshoot an image (i.e. fix white balance, tone, brighteness, color, etc.) is more valuable than applying filters or effects, although they have their place. With that said, if you edit on your mobile device, I recommend avoiding the phone's built-in editing application and instead, opting for a free editing app like VSCO. In addition to allowing you to manually adjust your photo, VSCO has numerous filters that help quickly add visual interest to an image.
If you've upgrade to a camera and are ready to edit on your desktop, I highly recommend investing in a Lightroom subscription ($9.99/month). Adobe's Lightroom is essentially Photoshop stripped of all non-photo processing elements. It’s a professional tool that allows for maximum processing power and image catalog organization (as discussed below in Tip #8). I especially appreciate Lightroom's mobile application that allows me to access my photo catalog from my phone and edit on the go with most of the same processing capabilities I have on the desktop version.
Bonus Tip: If taking the time to edit your photos using external software just isn't your thing, at a minimum I recommend using Instagram's in-app processing functions to brighten, increase structure and saturation, and adjust shadows before posting.

BEFORE
Low lighting, dark, grainy, shadows

AFTER
Cropped to 4x5 for Instagram, increased brightness and whites, reduced shadows and warmth
8. Keep Your Photos Organized
If you're anything like me your phone storage is probably nearing capacity with a mass of food photos and your computer not far behind. Implementing a method for organizing your madness is a must for streamlining your process. I recommend creating separate folders on your phone for different categories of photos or for various events you attend to make them easier to find later. On your personal computer, Lightroom is again my absolute choice for maintaining an organized image library. Folders, collections, keywords, and the ability to easily sync to your mobile device - these are just a few of the many benefits of Lightroom.
Bonus Tip: if you are an iPhone user, use the "Favorites" function to quickly identify photos you might want to use for future posts. When viewing a photo, just click the heart outline below it to label it as a favorite. All favorited images are immediately added to a "Favorites" album within your photo library for quick access.
9. Show Us What You Got: Caption With Personality
There are countless Instagram accounts posting drool worthy food photos daily. What sets YOU apart from every other food-capturing fiend out there, is simply...YOU. I highly encourage you to supplement the images you post with captions that reflect your own personality. A short narrative telling a bit of your personal story or providing insight into your experiences is much more compelling than a generic blurb and will help you build a loyal, invested following.
Bonus Tip: Try typing your captions on your laptop instead of on your mobile device - I find it much easier to let my personality show through when I’m freely typing on my laptop rather than thumbing away on my phone.
10. Have Fun and Enjoy Your Meal Already!
I’d be willing to bet that you started photographing your food because you LOVE to eat it...so use these tips to create a photo you like quickly, put down the camera, stay off social media, and just enjoy your meal already!

x Caroline
Follow TBG on Instagram